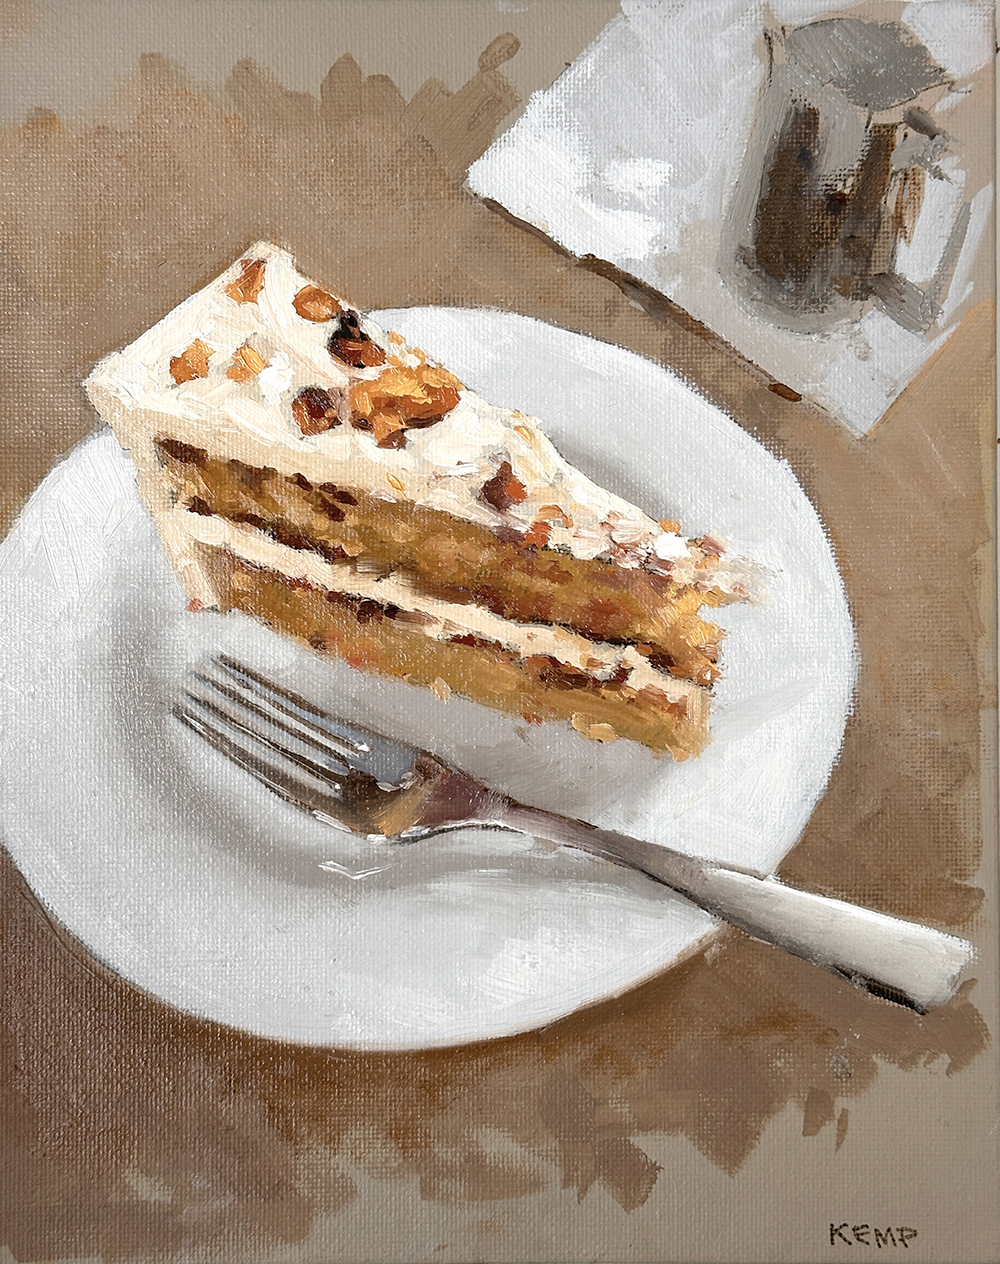
Oil on Board, 10 x 8 Inch, Will Kemp
I love cake.
I love paint.
Lets’s paint some cake!
This epic coffee and walnut cake is from Tate Britain café I sampled after the Singer Sargent Exhibition. Painted with the equally buttery cobra oil paint water-mixable oil paint, but the techniques would equally apply to painting with acrylics or traditional oils.
I hope it brings as much warmth to your day as the cake brought to mine!
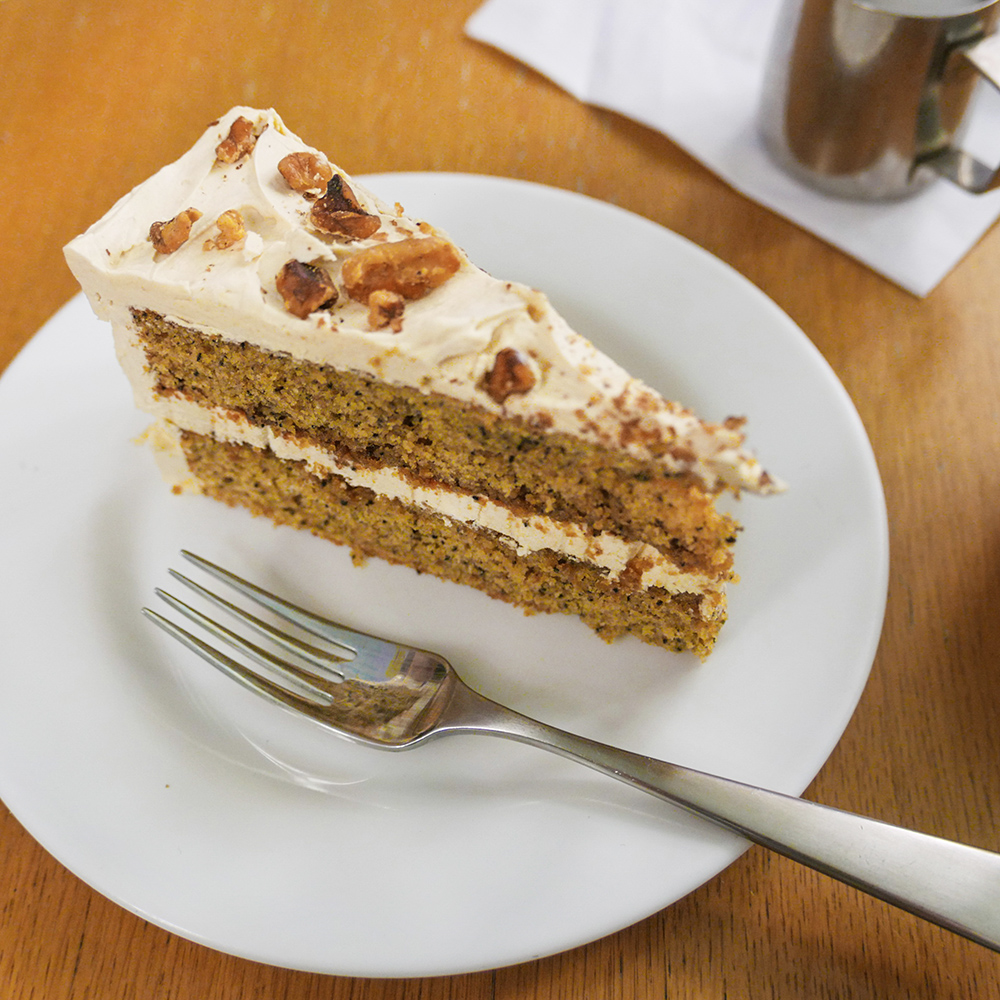
Reference Image for the painting
Materials you will need:
Surface: 10 x 8 inch (20 x 25cm) canvas board
Paint Colours
For the foundational layer, known as the initial block-in, I used acrylics due to their fast-drying nature.
- Burnt Umber (Golden Acrylic Paints)
- Titanium White (Golden Acrylic Paints)
- Neutral Gray 8 (Golden Acrylic Paints)
Following the acrylic base, the rest of the painting was created using water-mixable oils.
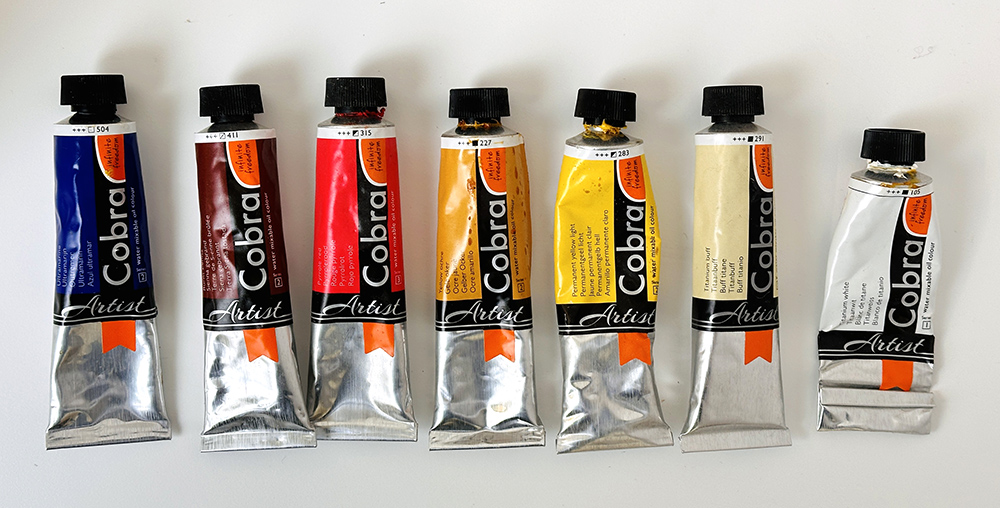
Water-Mixable Oils
- Titanium White
- Titanium Buff
- Permanent Yellow Light
- Yellow Ochre
- Pyrolle Red
- Burnt Sienna
- Ultramarine Blue
These are all Cobra Artist water-mixable oils by Royal Talens.
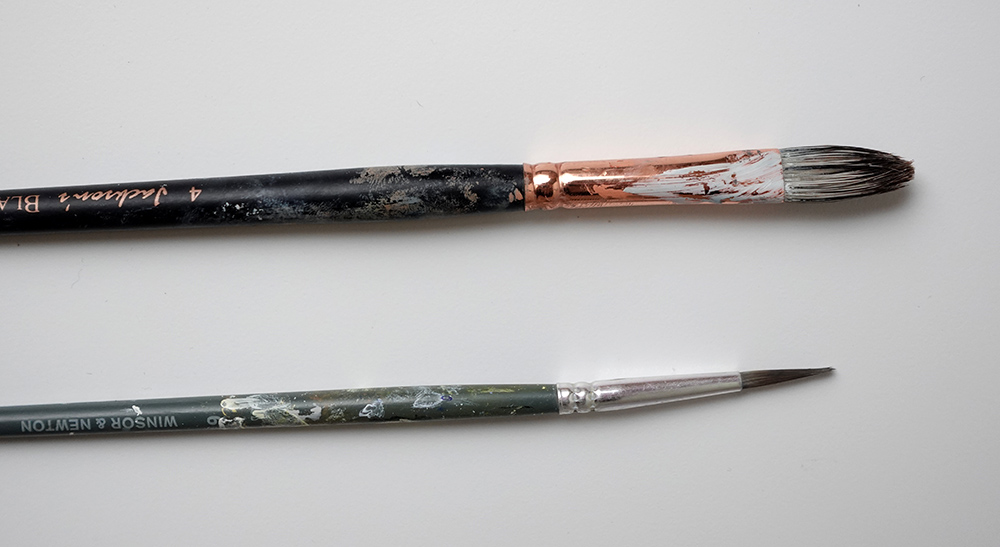
Tools & Brushes:
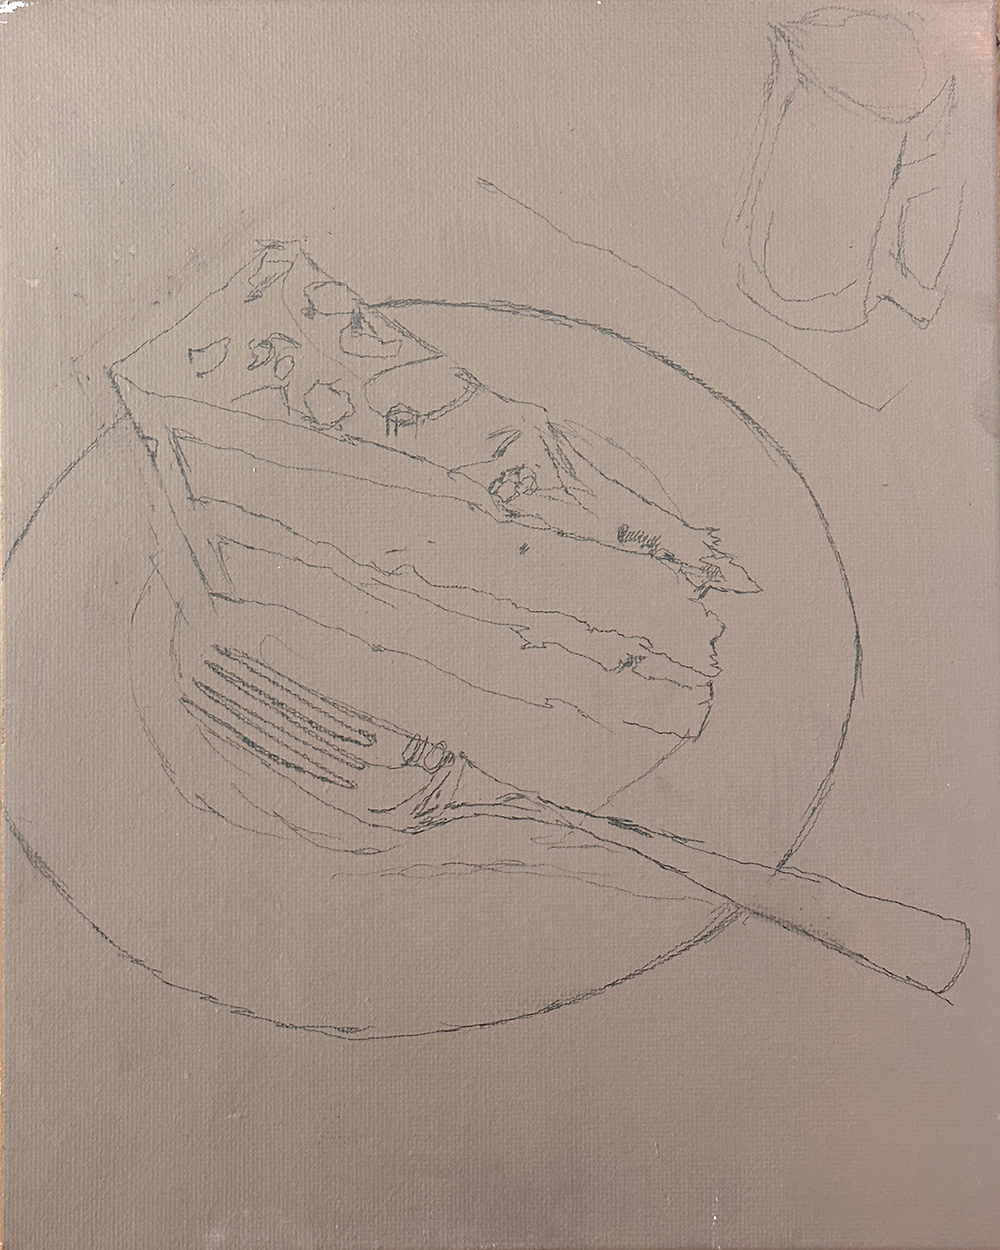
Step #1: Paint the coloured ground & draw out
For the coloured ground, I’m using a mix of Burnt Umber & Titanium White diluted with water.
The wooden tabletop felt quite warm, a little too orange, so I wanted to mute that intensity down to concentrate on the cake so it stood out more.
It was diluted with water and applied thinly to allow the subsequent oil layers to grab on. You could also paint this layer with WMOs if you prefer.
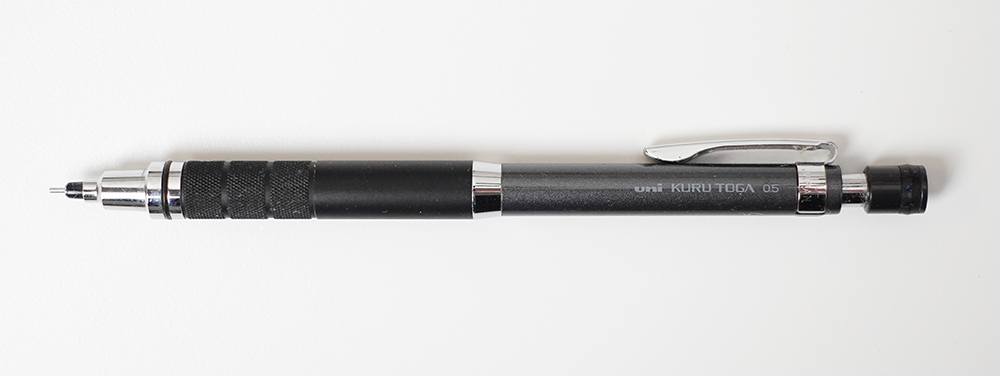
I’m drawing with a 0.5mm mechanical pencil, HB
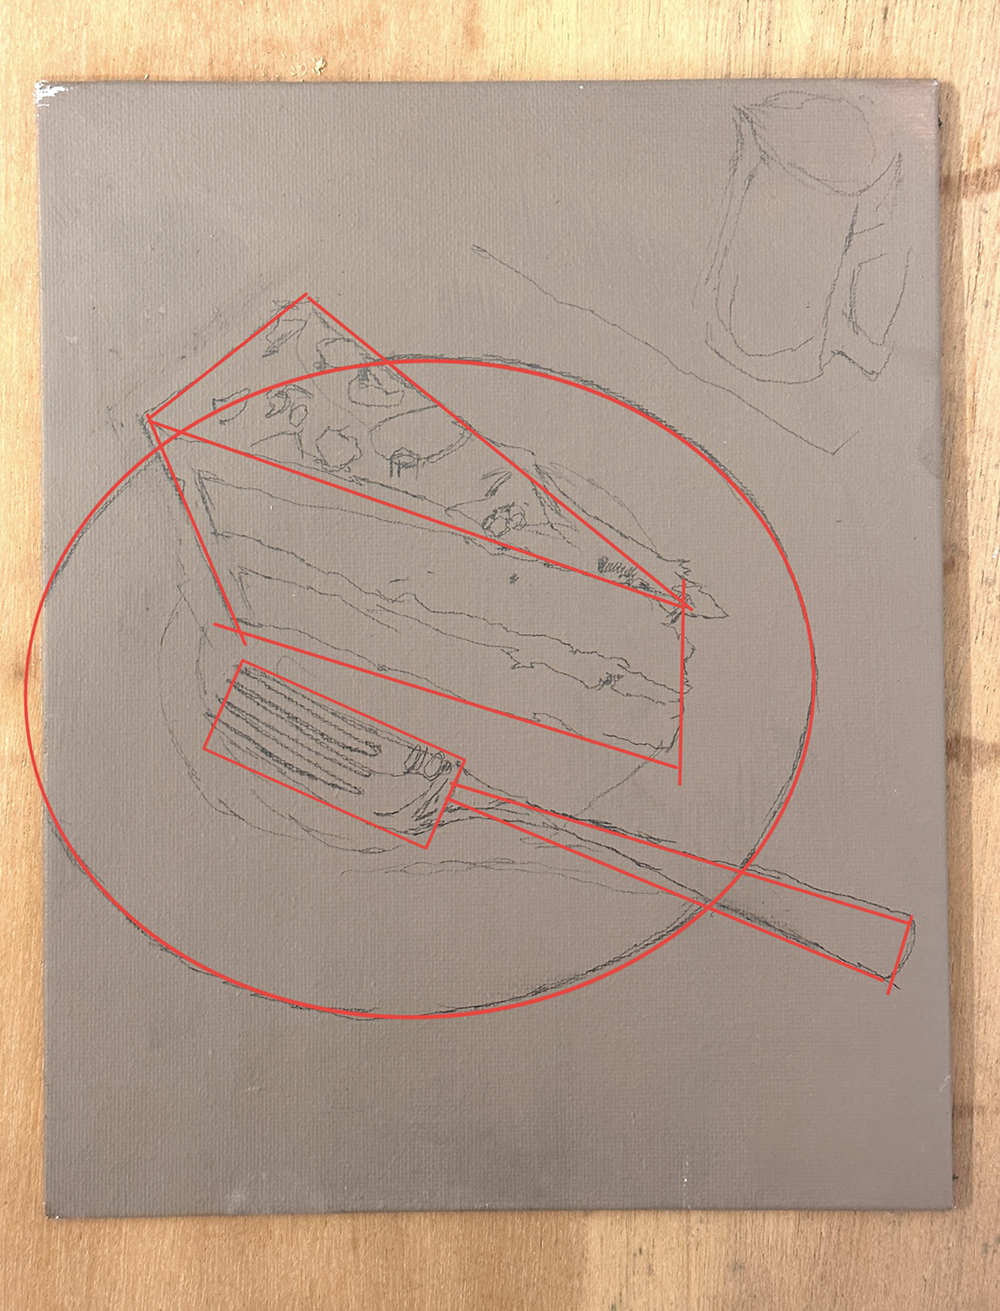
There is a simple triangular and circular shape to the composition, and I sketch out quite loosely. As long as your drawing is within those basic shapes it will read as a cake on a plate.
The reference image was in a square format but I felt the plate could do with a bit more breathing space. I also shortened the fork to include the end of a handle and added a top to the milk jug.
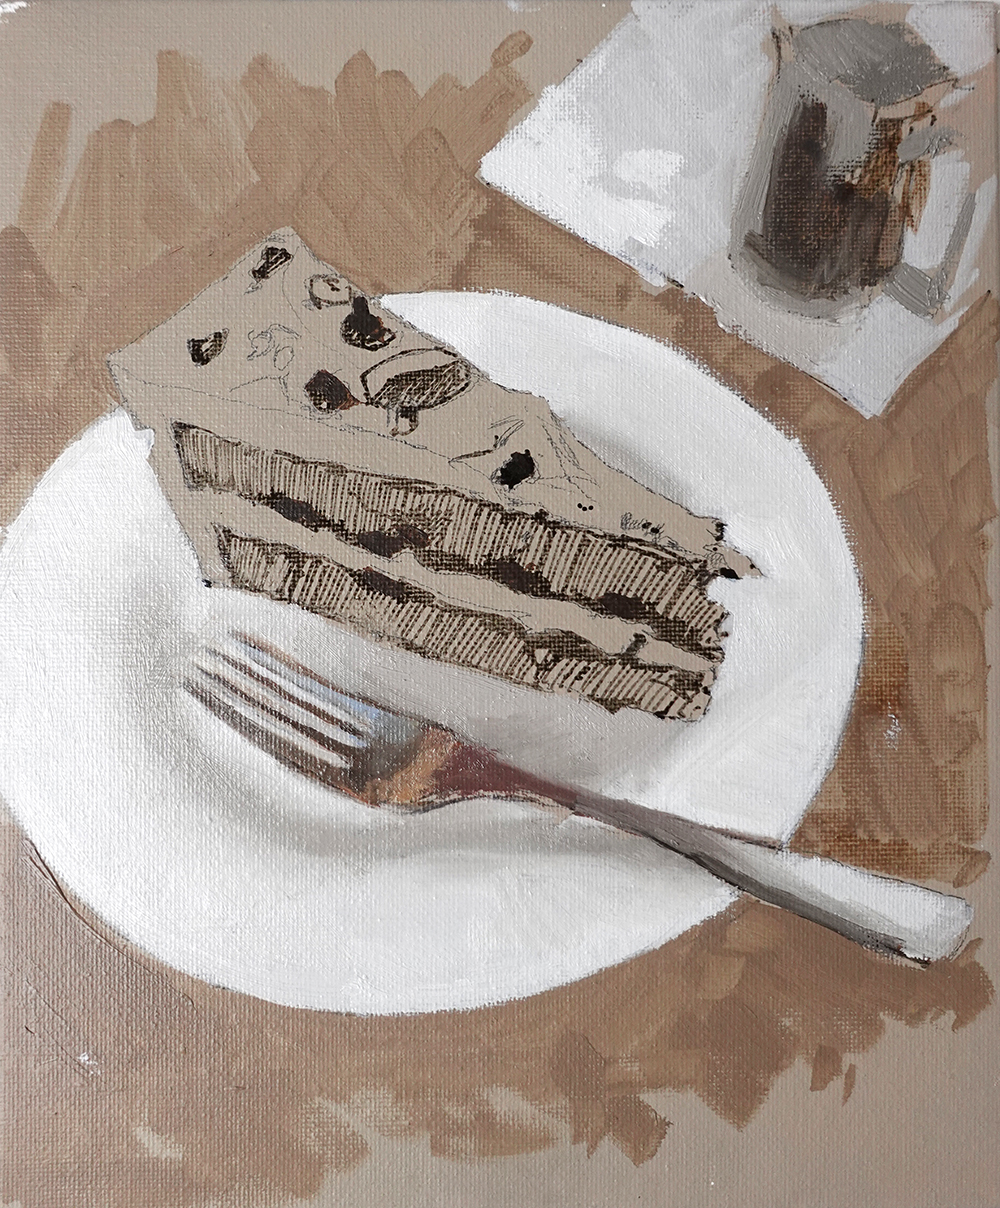
Step #2: Draw in the darkest value with a paint marker
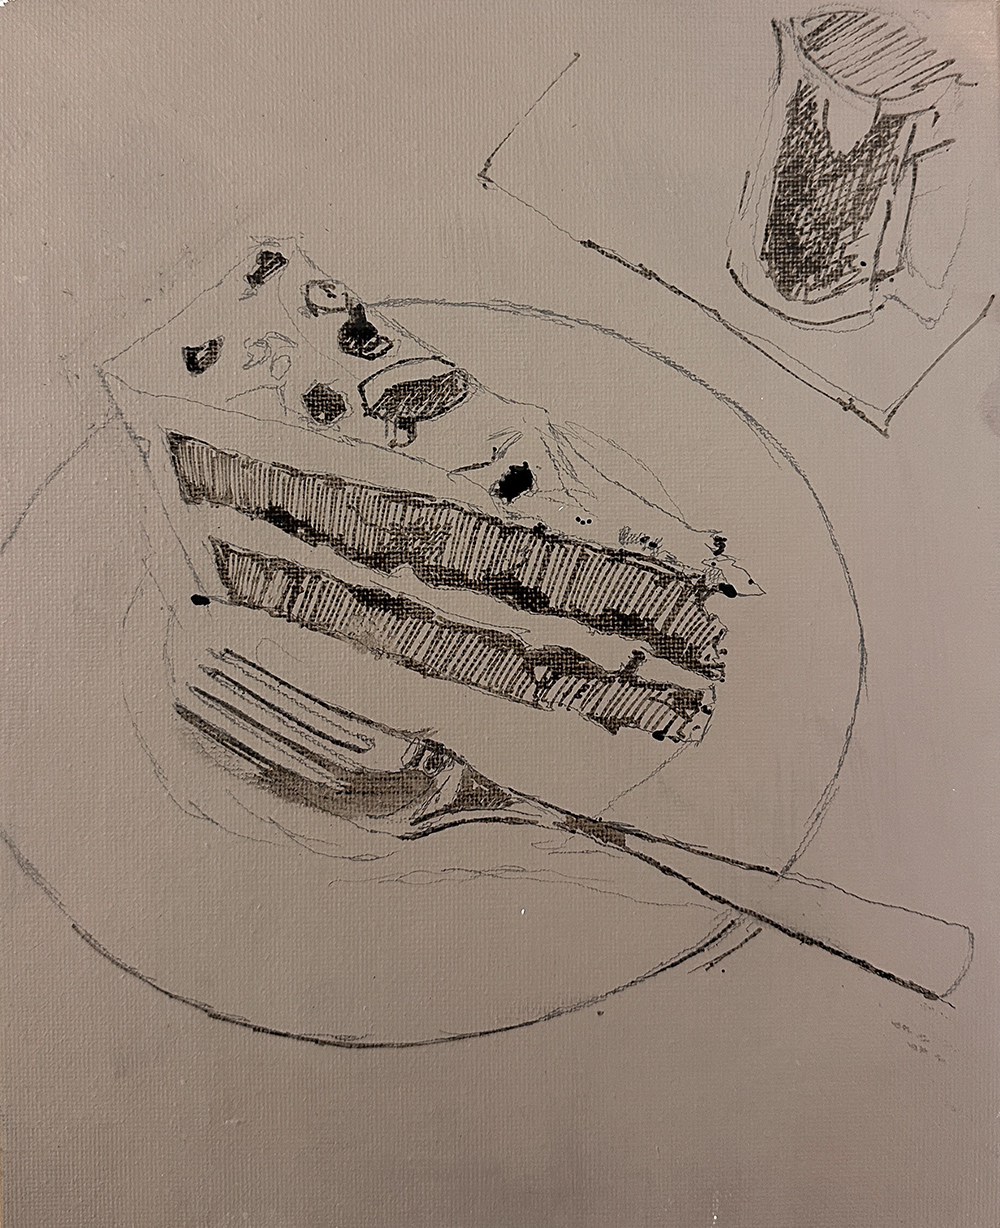
Once the pencil drawing has been corrected here and there with a light erase, I draw over the top, just looking at the key dark areas, with an F & W Daler Rowney mixed-media paint marker.
The marker allows me to see the shadow shapes more clearly and get an idea of how the dark accents can be used to move the eye through the painting. The marker is filled with a fluid acrylic paint in Sepia.
The milk jug at the top was starting to take my eye, so at this stage, I decided to keep that quite sketchy and focus on making the cake more realistic.
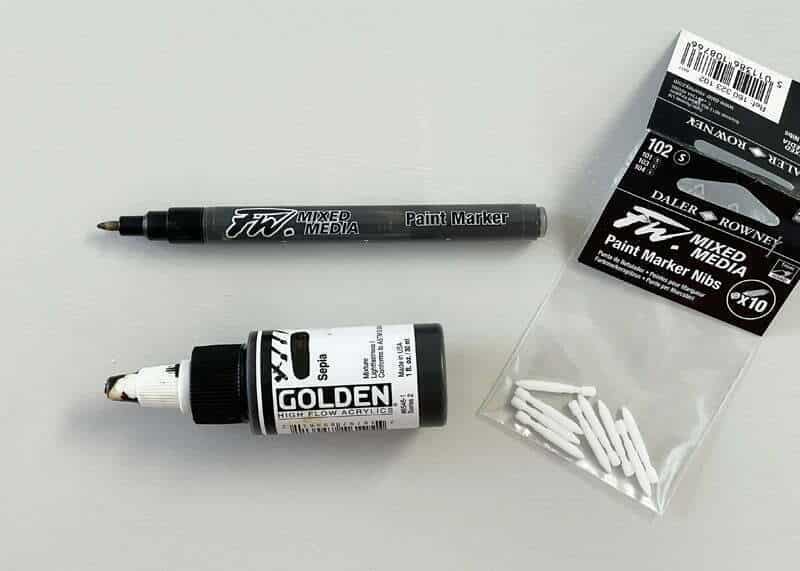
F & W Daler Rowney mixed-media paint marker, with a high flow acrylic used as ink
Step #3: Block in the Lightest Values
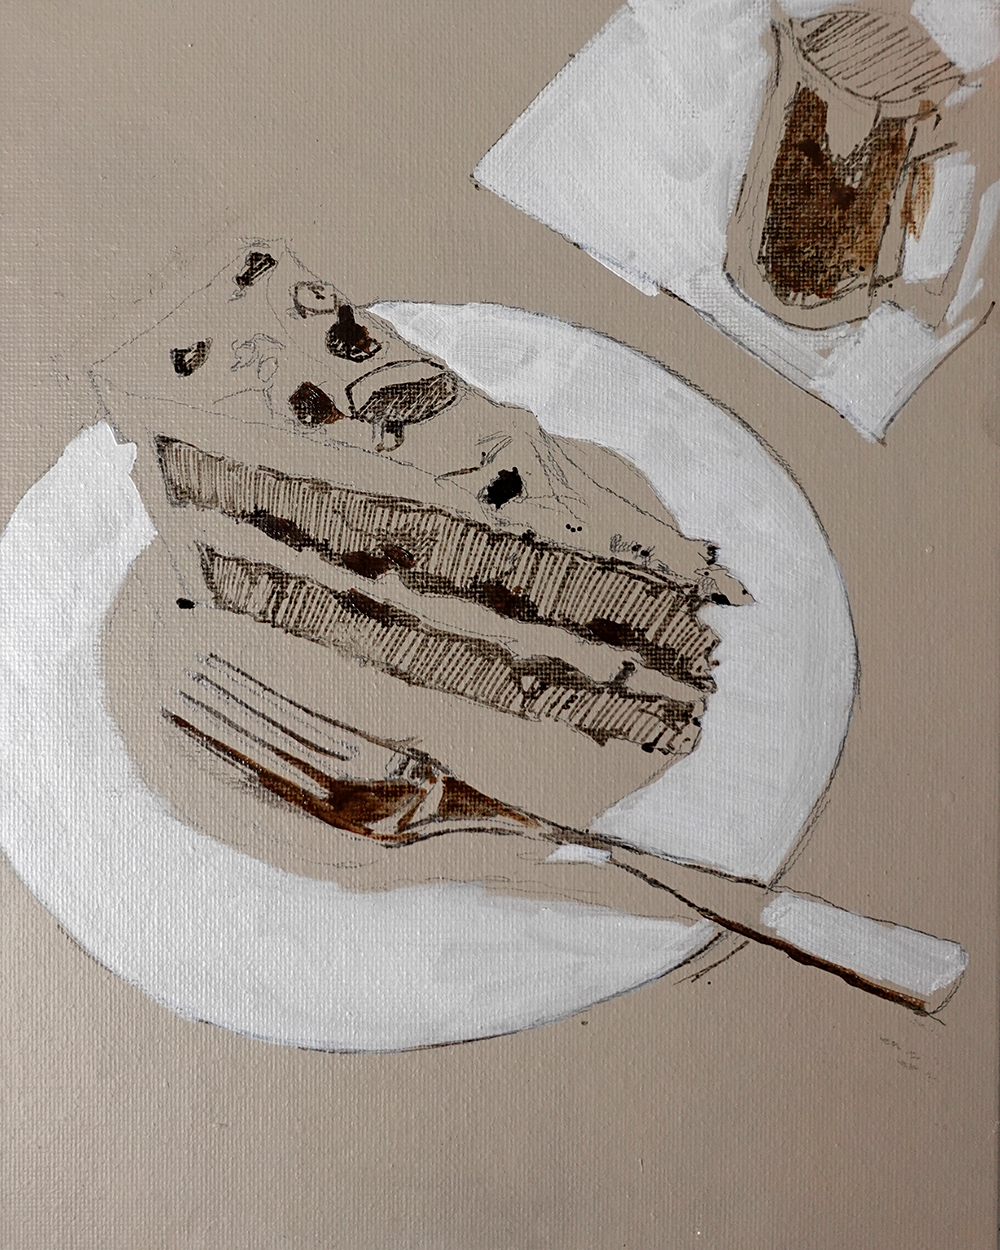
I’m using Neutral 8 Grey from Golden Paints and a little Titanium White, diluted with water and then washed onto the plate. I’m not looking for any variation in application or tonal range. I’m not trying to get anything perfect; I just want a closer value to the reference image.
Step #4: Mix a Black with Water-Mixable Oils
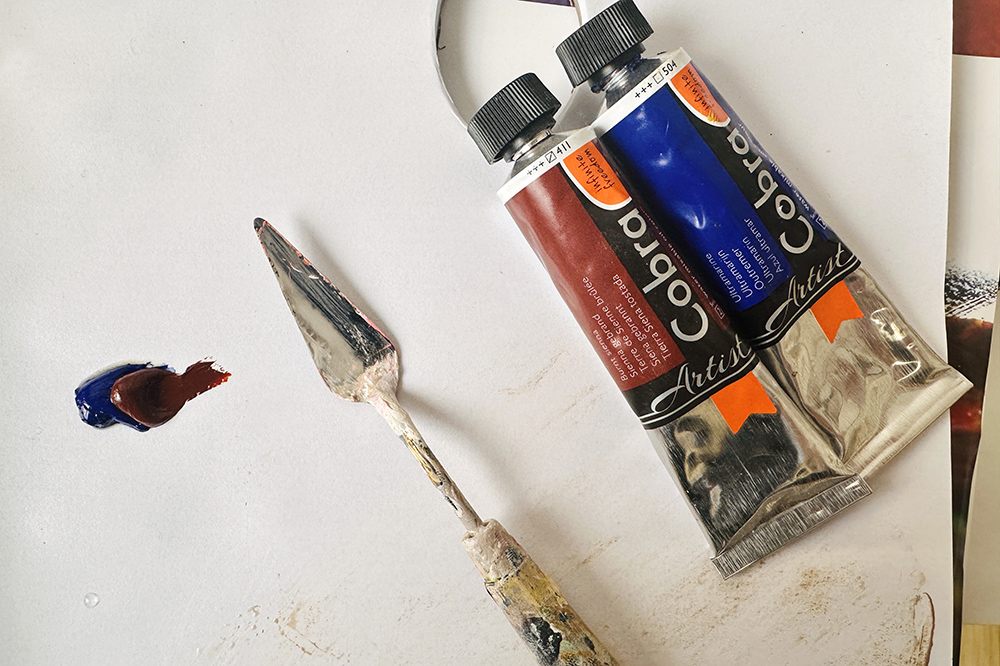
Use 2/3 Ultramarine Blue to 1/3 Burnt Sienna and mix a Black using the palette knife.
Pro tip: You can check how neutral your mix is by adding a speck of white. Then add more blue or more orange to balance it out.
This mix is used as a base to mix a grey colour string for the plate and the fork.
Although the plate appears to have only a couple of colours, there are a surprising number of subtle shifts in the shadow areas on the plate and on the edge of the fork.
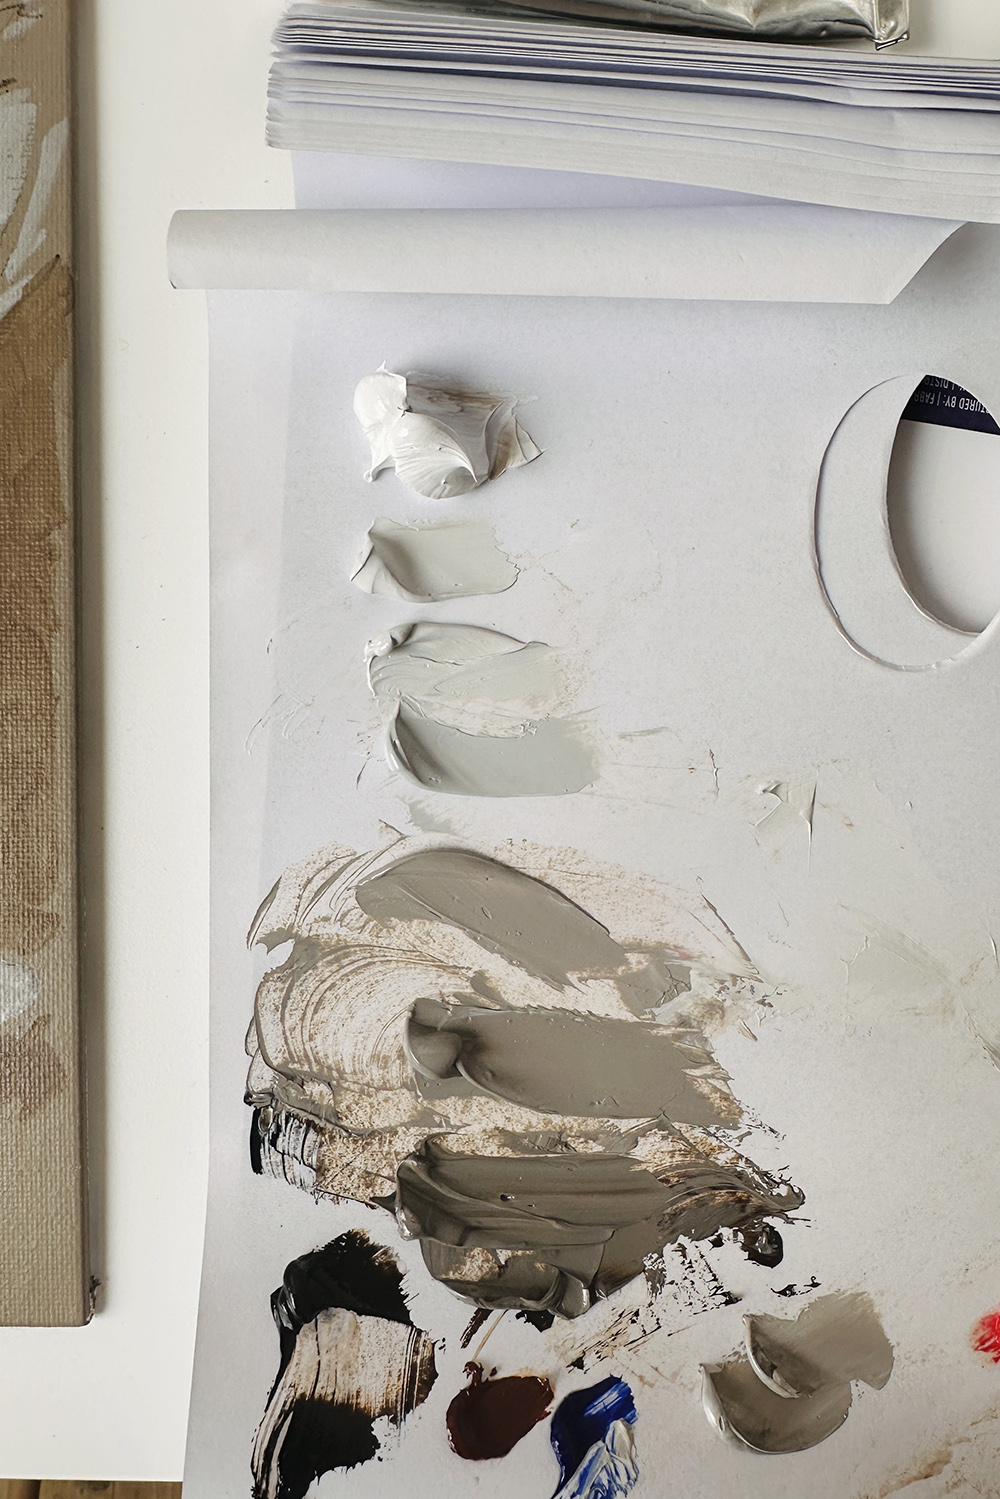
Colour string of greys used for painting the plate. Notice how the darker tones are warmer and I’ve cooled the lighter tones
For all my mixes, I use a palette knife. Due to oils’ slow drying times, I can leave these piles of paint out on the palette for the duration of the painting. They can be used to grey down colours and adjust the saturation as I progress.
There is also a sketchy, muted brown around the plate. This was applied using the size 4 black hog. The stiff bristles respond well to faster movements with the brush.
For the entire painting, water was exclusively used as the diluting medium.
Step #5: Block in the cake
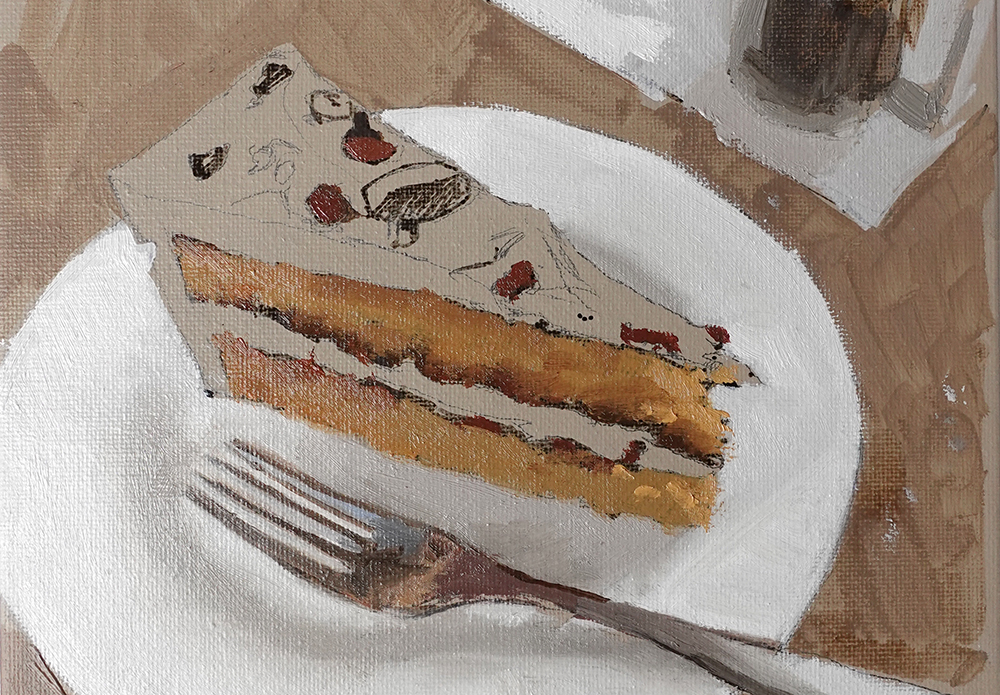
Without buttercream, the cake falls apart.
This was the stage of the painting where it felt like nothing was going to work.
The cake felt blocky, the fork looked stuck on and the plate felt too simplistic. When self-doubt creeps in, you need to just ask yourself.
Q.Have I finished blocking in all areas?
A. No.
Ok..calm. Finish blocking in all areas then check again.
Step #6: Mix your buttercream
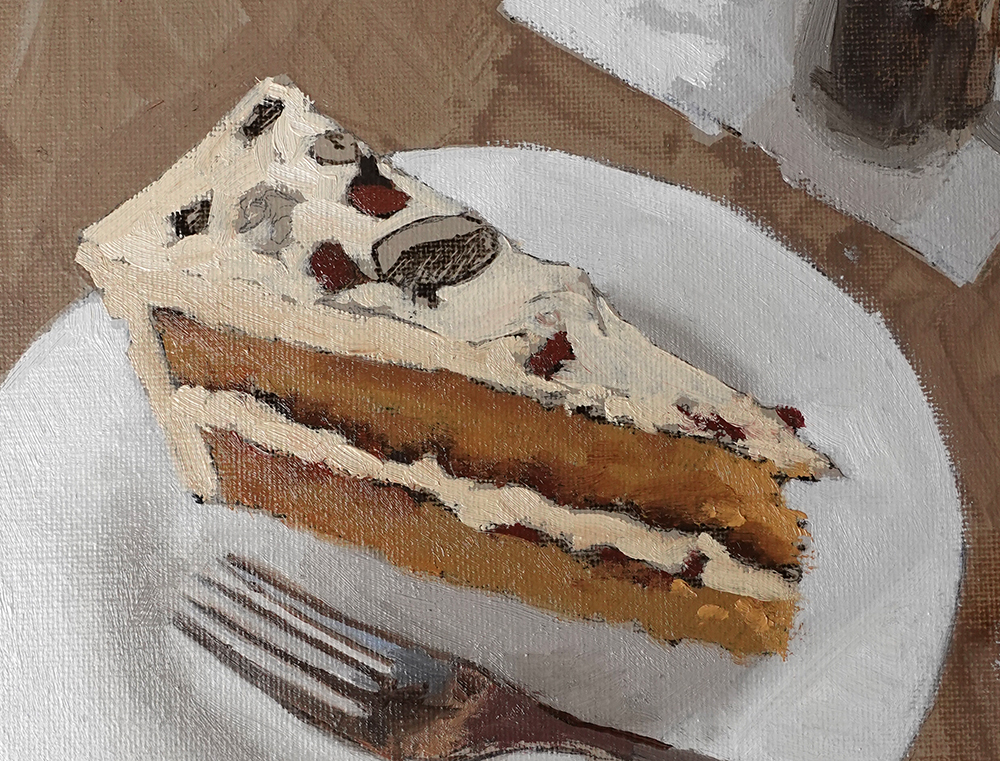
This looks like it moved on quite a bit, but interestingly, the fork is the same, the cake is the same, and the plate is the same. Just by having the lighter mixes of the buttercream, our focus is now on the top of the cake.
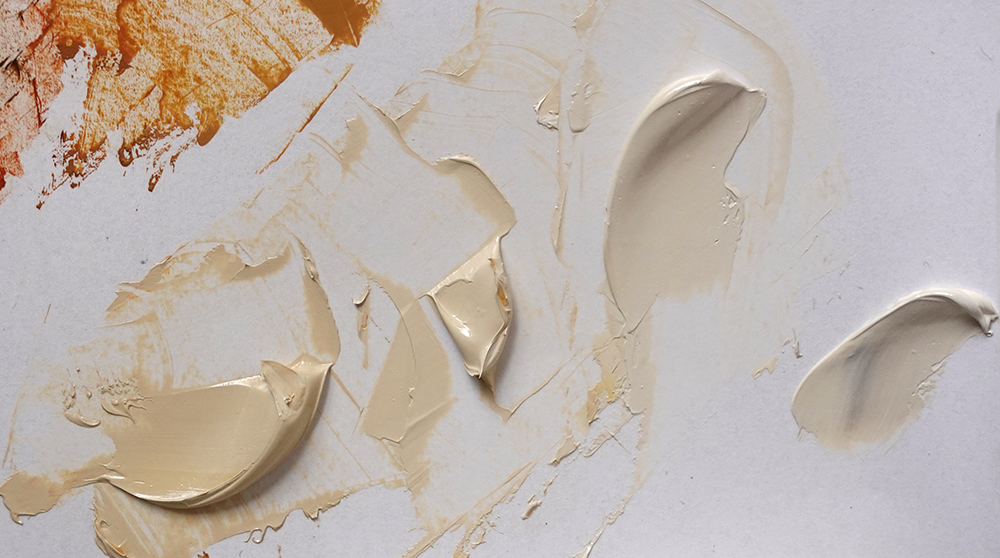
Colours mixed for the buttercream frosting
I mixed 3-values, so I can get a sense of light hitting the top of the cake. Once all of these areas are blocked in, it’ll be much easier to compare the values.
Step #7: Add a sprinkle of walnuts
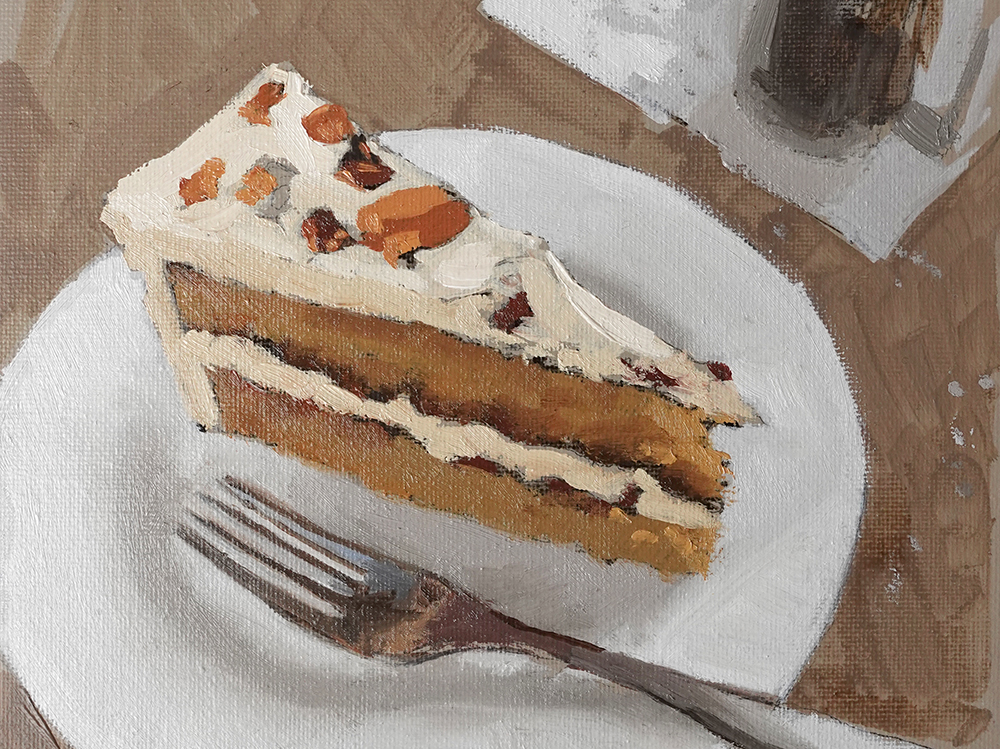
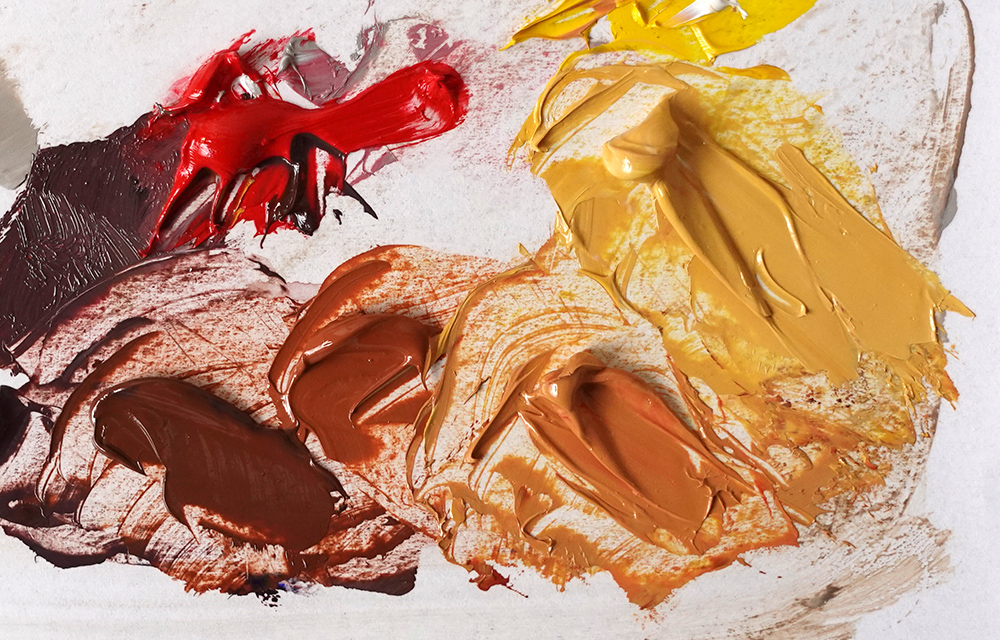
I mixed a range of oranges using the Permanent Yellow Light, Pyrolle Red, Burnt Sienna and Yellow Ochre.
There are some darker values in the walnuts that almost have a purple hue, so I mix a little Ultramarine Blue in with the Pyrolle Red.
Step #8: Layer up your colours
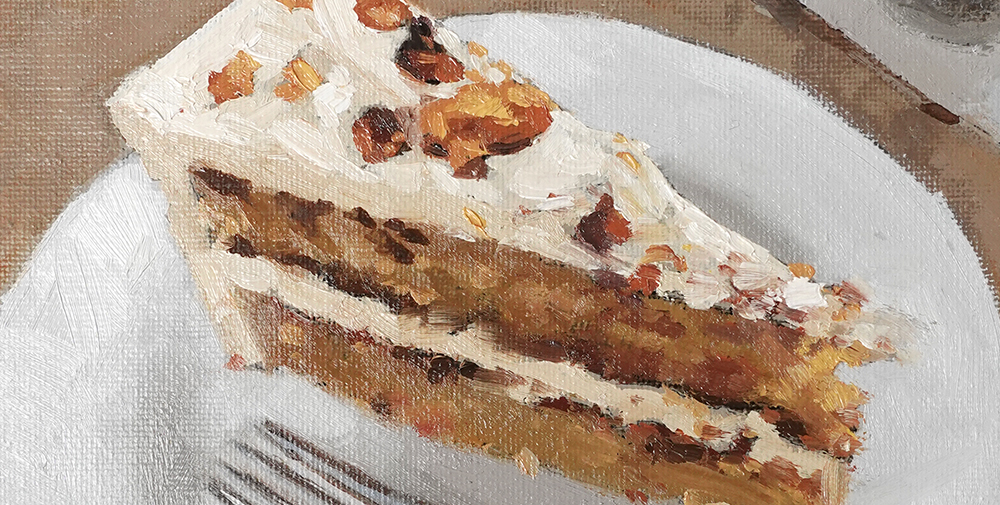
I can now start overlaying colours onto the base mixes, breaking through some of those sharper lines to create a more impressionistic pattern of colours on the cake surface. The plate and the background remain unchanged.
I’m mostly using the filbert brush, but will occasionally swap to the round brush for fine details.
Step #9: Paint the reflections on the fork
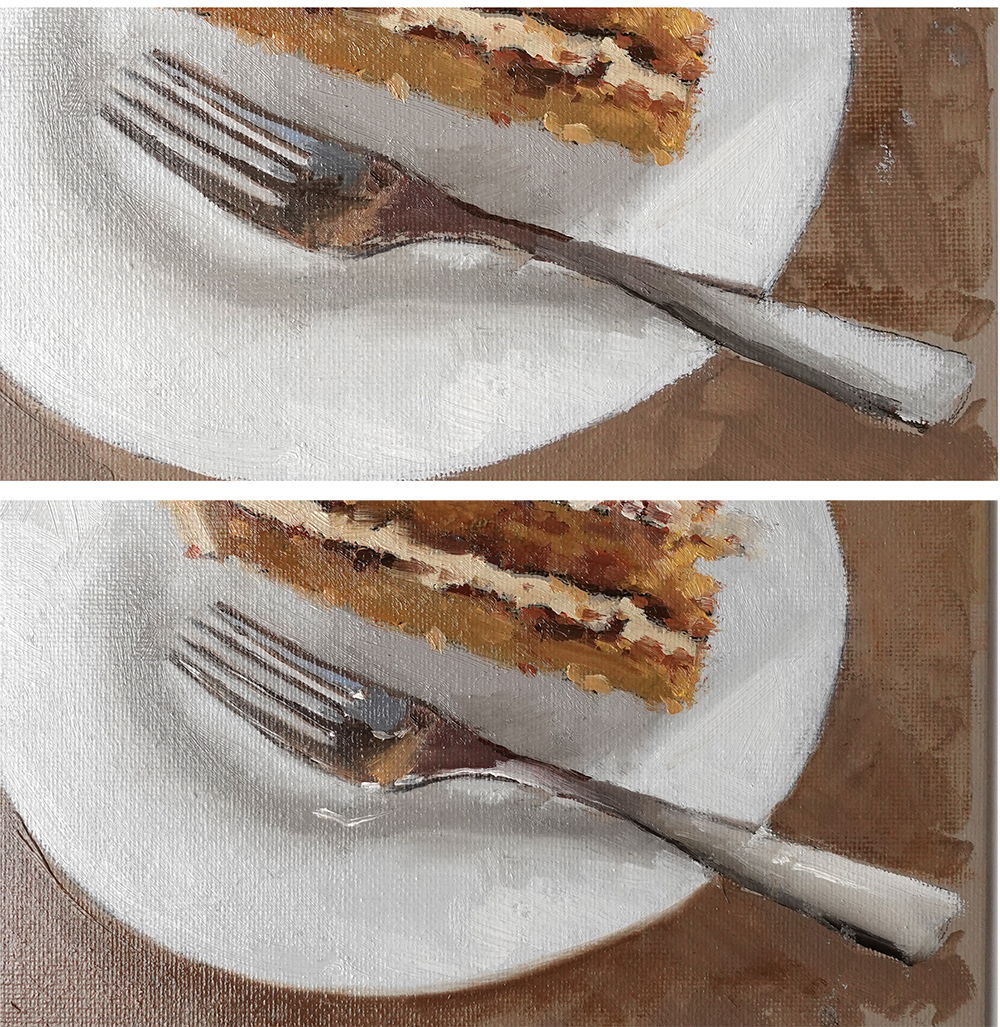
When painting chrome surfaces, try to imagine the shape without any highlights or reflections. This allows you to concentrate on the different reflected colours that are showing in the surface.
Then the highlights can be painted on with Titanium White. I’m using the round brush for these details.
It’s always amazing how much the highlights bring the chrome to life! I’ve also added a darker cast shadow around the bottom of the plate to give it more solidity.
Step #10: Finishing touches

Coffee, Cake & Critique, Will Kemp, Oil on Canvas Board
I pushed the buttercream a bit by adding some more titanium white into the mixes. Also, a few more high saturation yellows on the front and edge of the cake.
Hope you enjoyed the lesson.
If you’re intrigued by water-mixable oils and want to delve deeper into how they stack up against acrylics, explore the most suitable mediums, accelerate drying times, master the technique of layering from ‘fat-over-lean’, and learn the art of glazing, then the Beginners Water-Mixable Oil Course might be perfect for you.
Currently, I’m running a special Easter offer of 40% off, which is available until Easter Monday.
40% Off Beginners Water-Mixable Oils Course
Wishing you a wonderful week ahead.
Cheers,
Will
