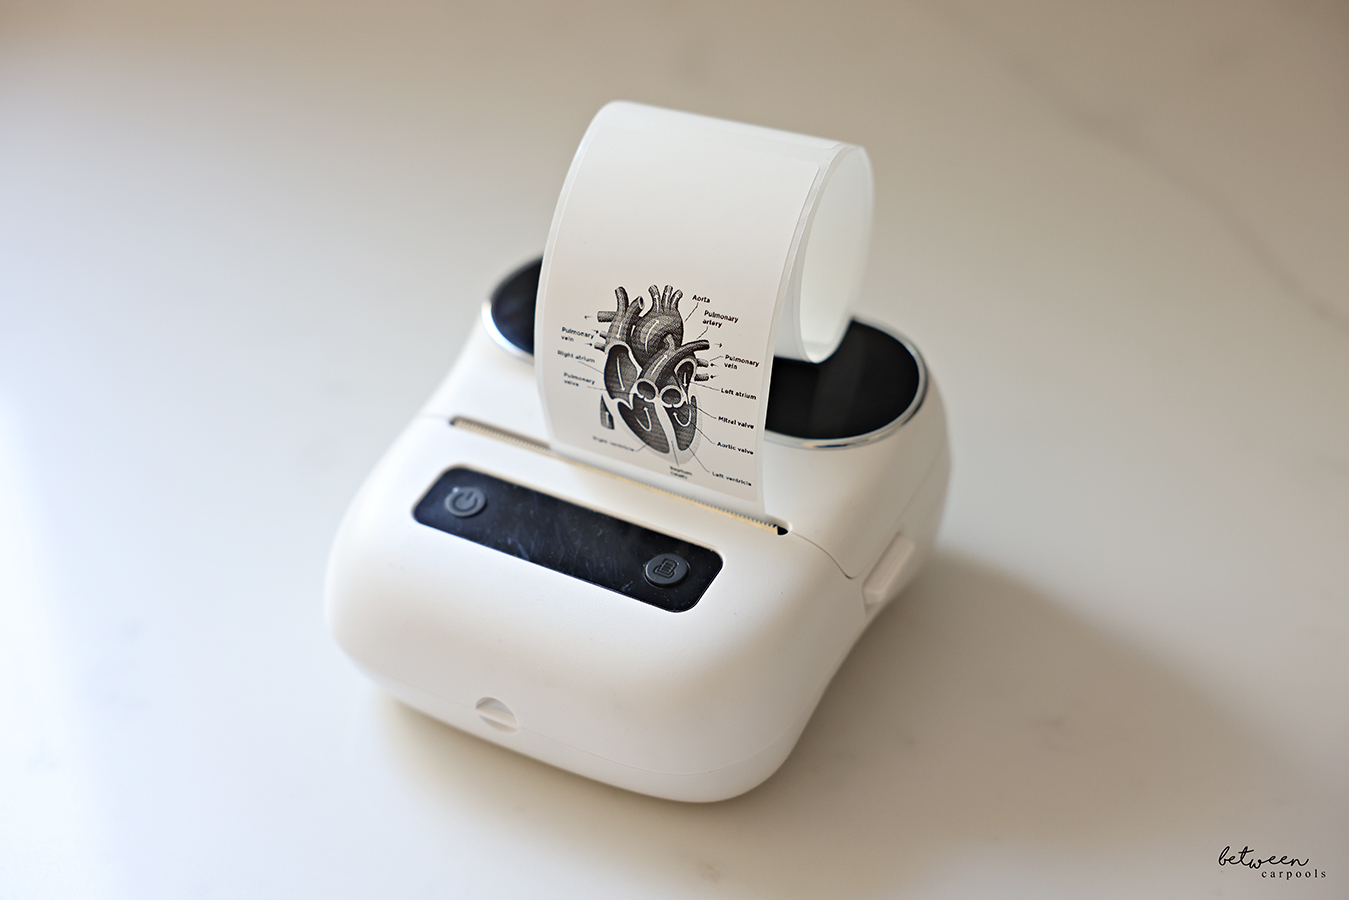
We found another use for one of our favorite toys. Sure you could use index cards, but this is more fun – and neater!
Did you use crib notes when you studied for tests? Index cards with little reminders? Sticky notes?
Back in my test taking days, I had a routine when I studied. First I reviewed all the material by reading through my notes and texts. On the second read-through, I’d make notes of specific points I wanted to review more thoroughly or just needed to memorize. Dates, names, places, etc. Sometimes those notes needed more details, and sometimes just bullet points were enough.
And while I wrote out those notes, I read aloud what I was writing. This meant I was using three senses at the same time – hearing, seeing and feeling – which helps retain information better.
Once I had those summarized notes or index cards, I didn’t need to look at my full notes again unless I got stuck. In the time before the test – on the bus, at lunch time – I was able to quickly review those notes.

Recently, my 7th grader needed to study for a history test that covered A LOT of material. It was overwhelming for her and her friends. So I had her start using my method. She reviewed the material and then decided which points needed to be focused on. But instead of using index cards or note paper, we decided to print the points on stickers which she then put on the subject divider in her binder (they’re plastic dividers).

The Phomemo printer (newer model) is perfect for something like this because you can print images as well. So if you need a diagram or a formula, you can just take a screenshot or picture of the graphic and print that on a sticker, too! Same for Hebrew – if you don’t want to type up your notes in Hebrew, you can write them neatly, take a picture and use that image on a sticker. (Or even if you prefer to write the notes in English, you can make them into a sticker.) And if you’re studying with friends, you can print multiple copies easily.

You can easily create these stickers as the semester moves along. By the time a midterm or final comes along, there’s a full sheet of stickers with all the bullet points that need to be reviewed! And they’re all neatly lined up in one place!
Some tips:

You can use either this medium size sticker or this larger one. I use the medium ones for all my other household uses, but these larger ones do allow for more info per sticker. Make sure you choose the correct size – and orientation – when setting up the label in the app.

When you want to use an image on the sticker, select the filter option on the bottom of the screen and choose the one that cleans it up best.

Black and white is best for handwritten notes,

but grayscale can work better for diagrams and images.

Then stretch the image to the size you want on the sticker.
Want to know how much we love this little label printer? We use it to organize our freezers, to customize our mishloach manos and even dress up a hostess gift!
