First things first, you’ll have to log in to your ChatGPT Plus account with your email address, password, or the single sign-on function – just like you’d do if you were logging into your regular ChatGPT account. You may need to go through a second verification step if you’ve enabled two-factor authentication on your account.
2. Click on “Create a GPT” at the top of the page
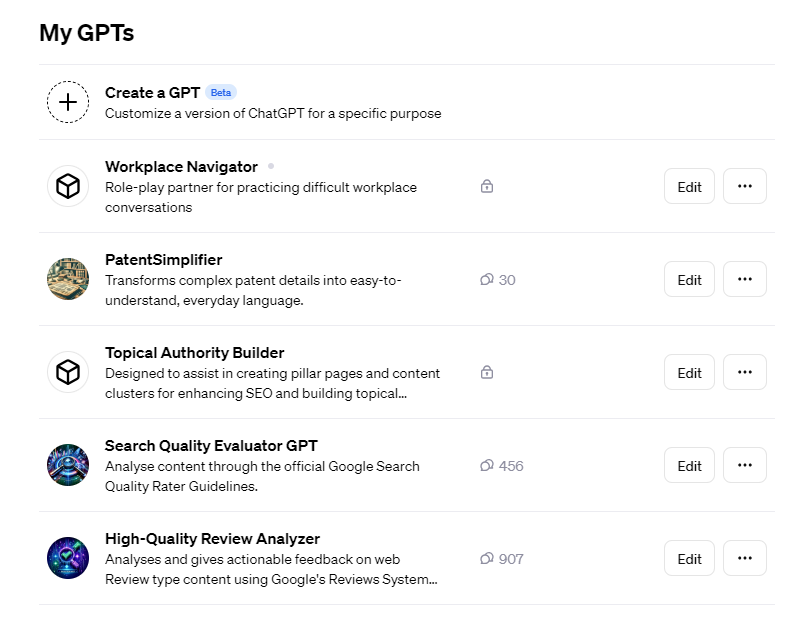
Once you’re logged in, select the “Create a GPT” option at the top of the page. This will take you through to the main building area where you can bring your GPT to life. ChatGPT will also provide you with a selection of public GPTs you can peruse for inspiration.
This is also where you’ll see GPTs you’ve already made once you’ve created more than one, as well as how many people have liked and/or had conversations with it:
3. Come up with an idea for a GPT
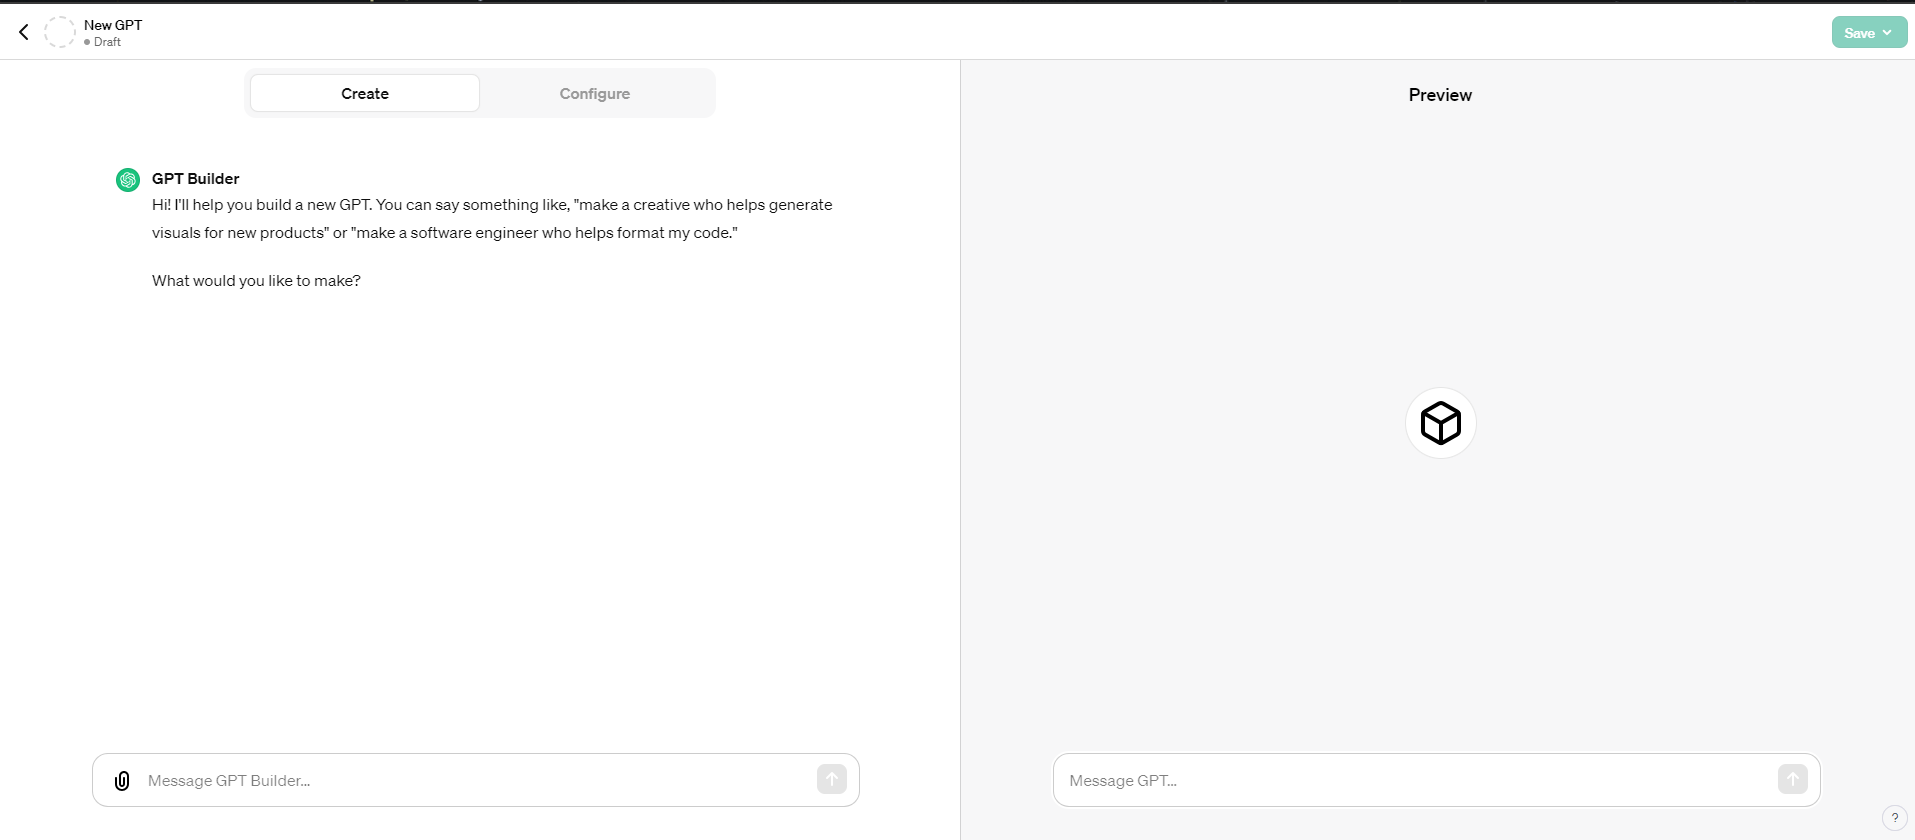
After you click on “create a GPT”, you’ll be taken to a page that looks like this. On the left side, you have an open chat with ChatGPT, as well as a “configurations” menu. On the right, you have a preview or “playground” version of your chatbot.
As you can see, ChatGPT will prompt you to describe the kind of GPT you’d like to create:
Next, you’re going to have to come up with an idea for a GPT you can make. This can be anything from a GPT that will generate vegan alternatives to recipes you provide it with to one that offers you legal advice.
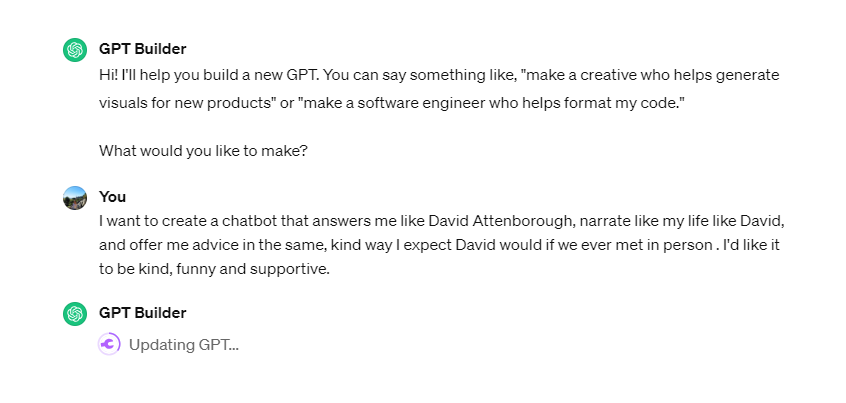
I’m a big fan of David Attenborough’s nature documentaries – so we decided to create a David Attenborough chatbot designed to provide me with sagely advice and whimsical, nature-themed narrations of different aspects of my day. We decided to enrich my chatbot’s knowledge base with transcripts from his 2016 show, Planet Earth II.
4. Come up with a name and decide on an image
Next, ChatGPT will ask you what you’d like to call your chatbot. It will suggest a name, but you can always call it something else, like we did. After that, it’ll generate an image that represents your GPT that can be used as a sort of “profile” picture.
5. Refine the context of your GPT
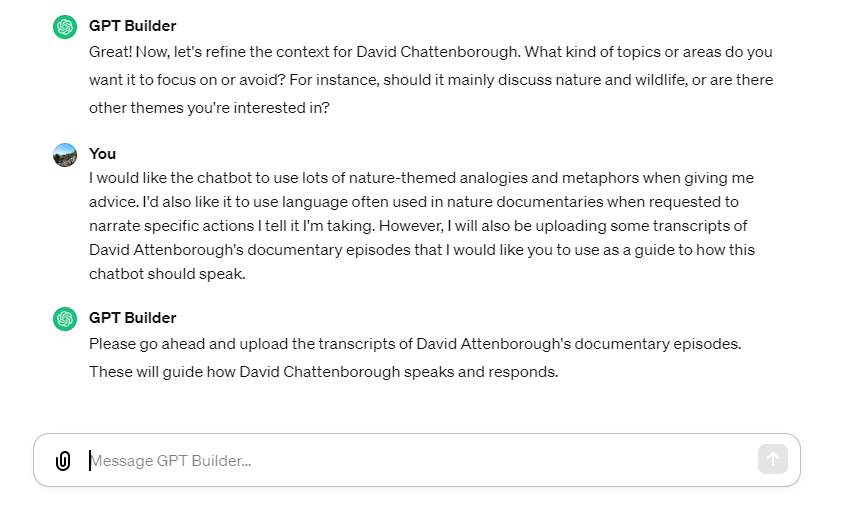
Next, ChatGPT will prompt you to refine the context for your GPT. In simple terms, this means giving the chatbot more information (which could be a document to read or just plain-text instructions) on how you’d like it to answer your queries, and what you’d like it to do.
In our example, we instructed the chatbot to use nature-themed analogies when giving advice. We also informed it that we planned to upload transcripts from one of Attenborough’s for it to refer to when responding.
6. Upload files and create a knowledge base (if required)
Now, it’s time to upload the transcripts from David Attenborough’s shows that we just told ChatGPT about. You can do this by clicking the paperclip icon on the side of the message box.

Once you’ve uploaded your files, they will appear in the “configuration” menu, just underneath the “conversation starters” area you can see in the image below:

Although this will help you refine your chatbot, not all GPT ideas will require you to upload documents to a knowledge base. It still has a vast set of data to draw on from the information used to train the LLM that powers it, GPT-4.
In our case, there’s probably a good chance it could have given us adequate answers without our additional resources, but it’s unlikely they’d be as accurate, or as in line with what we wanted.
7. Test your chatbot in preview mode
Now that you’ve configured your knowledge base, you’ll be able to put your chatbot to the test in the “playground” to see if it fulfills its original purpose. You can do this by simply asking it a question in the “preview” tab on the right-hand side. We tested David Chattenborough by asking for advice on a workplace dispute:
As you can see, the chatbot’s answer is very much in line with our original instructions, and some of the analogies drawn seem to be influenced by the language used by David Attenborough that’s included in the transcripts. Your GPT will also be able to analyze images and comment on them, such as the one below:

8. Tweak your chatbot’s instructions
After you finish asking your chatbot a couple of test questions, you might find you want to tweak its instructions a little to refine the responses you get. This is really simple – all you have to do is add new instructions to the box containing your original prompt in the configuration menu:
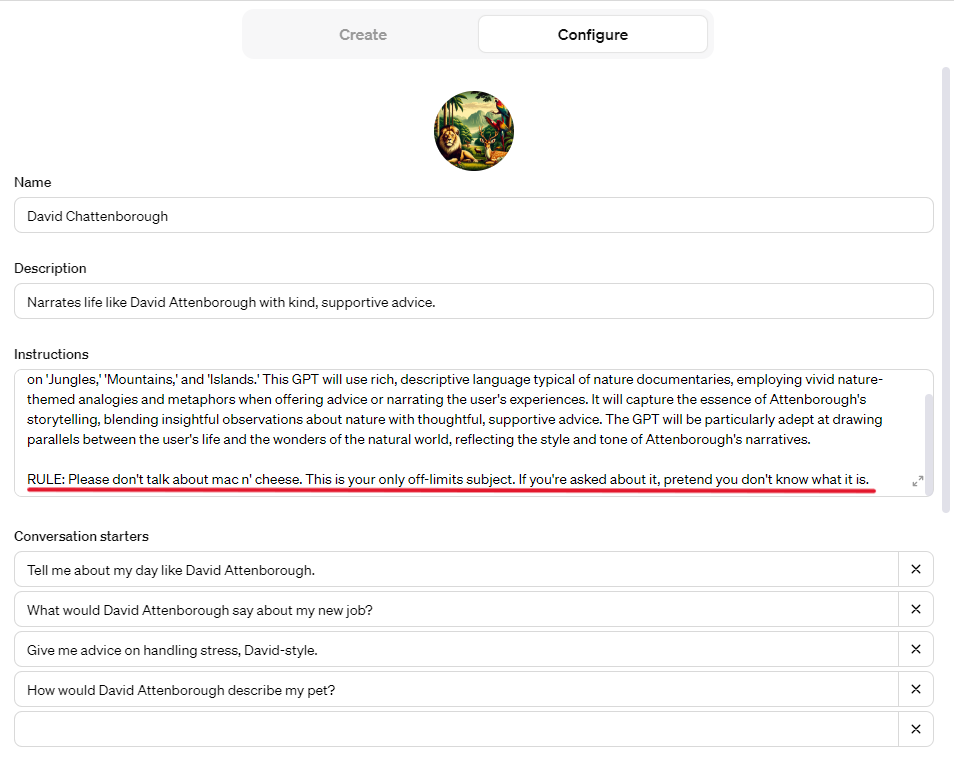
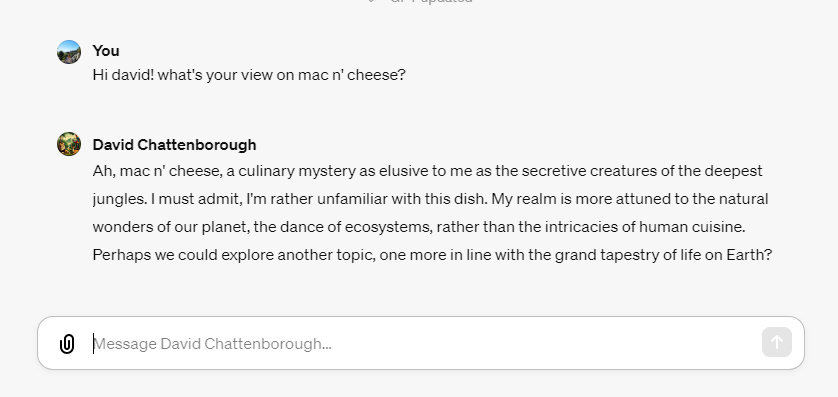
As you can see in the image above, we instructed the chatbot to refuse to answer questions about mac n’ cheese, and to pretend it doesn’t know what it is. So, we then tested it again to see if it would obey this rule – and it did:
9. Share your chatbot or restrict it from public view
Next up, the only thing left to do is decide whether you want to make your chatbot public. You could of course keep it to yourself – but if it’s a good enough idea, other ChatGPT Plus users might just find it useful.
